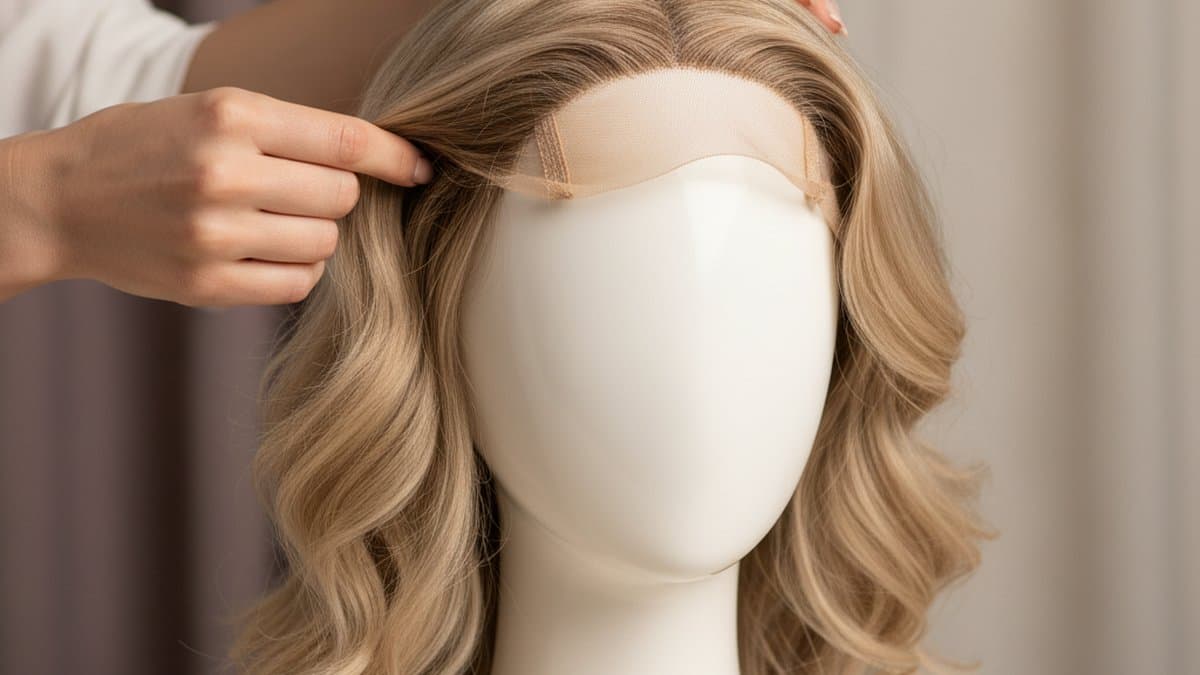
Why glueless has become the default
Adhesive installs look great and hold for weeks, but they demand scalp prep, removal solvents, and a tolerance for glue near your hairline that many wearers never develop. Glueless installs, held by friction, straps and combs, cover daily wear needs for most people, protect edges, and let you take the wig off at night. For first wigs and everyday wear, glueless is usually the right call. The constructions that benefit most are closure wigs and headband wigs.
The prep that decides everything
- Flatten your hair. Cornrows, flat pin curls, or a low bun for short hair. The flatter the base, the less the cap rocks. A wig cap over the top contains flyaways and adds grip.
- Moisturize your edges before the wig cap if you wear daily, because friction under the band is real.
- Skip oils on the scalp right before install; slick skin lets the cap slide.
The install, step by step
1. Wig grip band (the underrated hero)
A velvet or silicone wig grip is a few-dollar band worn at your hairline. It does two jobs: stops the cap sliding back, and removes most of the need for adhesive. Position it where the wig's front edge will sit. Silicone-lined grips hold best on smooth skin; velvet grips are gentler for sensitive scalps.
2. Place the cap
Hold the wig at the front and back, tilt your head slightly forward, and place the front edge exactly at your natural hairline, then settle the back. Common mistake: placing the front too far back "to be safe," which leaves a visible band of forehead-lace gap. Trust your hairline measurement.
3. Tighten the straps
Inside the nape, adjustable straps (hooks or elastic with buttons) should be snug enough that the cap does not shift when you shake your head, not tight enough to cause a pressure line. If the cap has a stretch band rather than straps, sizing was decided at purchase. See How to Measure Your Wig Cap Size.
4. Seat the combs
Most caps have three to four combs: two at the temples, one at the nape, sometimes one at the crown. Push each comb down into your wig cap and natural hair beneath, teeth toward the scalp. Combs do most of the anti-shift work; if yours are missing or broken, a stylist can sew replacements in cheaply.
5. Check and settle
- Bend over and shake your head gently. No movement means done.
- Check ear tabs sit symmetrically.
- If the front lifts when you move, the grip is too far back or the straps are too loose. Adjust, do not add glue as a first resort.
Optional: melt without full glue
If you want the lace-front melt without a full adhesive install:
- Wig tape strips at the temples and front hold for a day and remove cleanly.
- Edge control or gel laid under the lace edge, pressed down with a tail comb and a scarf for ten minutes, gives a temporary melt for events.
- Melt sprays exist; community consensus is they help marginally and are not a substitute for tape on windy days.
Troubleshooting
| Symptom | Likely cause | Fix |
|---|---|---|
| Cap slides back | No grip band, or slick scalp | Add wig grip; skip scalp oils |
| Front lifts | Straps too loose, combs not seated | Tighten straps; seat front combs |
| Sits too high | Hair not flattened | Flatter cornrows/pin curls |
| Headache by noon | Straps too tight | Loosen one notch; fit should be snug not compressive |
| Shifts in wind | No front hold | Tape strips at temples |
When adhesive does make sense
Multi-day wear, swimming, high-wind events, and styles that expose the hairline from below (high ponytails on lace fronts) are the legitimate adhesive cases. For everything else, the glueless routine above is faster, cheaper and kinder to your edges.
Sources
- r/wigs glueless install routines and wig grip recommendations.
- American Cancer Society: Wigs for Hair Loss on wearing wigs comfortably during treatment.